Building a perfect sphere in Minecraft might seem impossible in a world made of cubes, but with the right technique, you can create stunning spherical structures that will impress everyone on your server. The secret lies in understanding that a sphere is essentially a stack of circles that progressively change in size.
In this comprehensive tutorial, we'll walk you through the complete process of building a Minecraft sphere from start to finish. Whether you're creating a decorative globe, an underwater dome base, or a giant planet in the sky, these techniques will help you achieve pixel-perfect results every time.
Understanding Sphere Construction
Before we dive into the step-by-step process, it's important to understand the mathematics behind Minecraft spheres. A sphere is a three-dimensional shape where every point on its surface is equidistant from the center. In Minecraft's block-based world, we approximate this by stacking circles of varying diameters.
Think of it like slicing an orange horizontally into thin layers. Each layer is a circle, and the circles get smaller toward the top and bottom of the orange, with the largest circle at the middle (the equator). This is exactly how we'll build our Minecraft sphere.
💡 Key Concept
A Minecraft sphere with diameter D will have D layers. The middle layer uses a circle of diameter D, while layers toward the top and bottom use progressively smaller circles following a mathematical pattern.
Materials and Tools You'll Need
- Building blocks: Choose based on your design. Smooth blocks like quartz, concrete, or prismarine show curves better than textured blocks.
- MineCircles Generator: Our circle generator tool will create the templates you need for each layer.
- Scaffolding or dirt: For temporary platforms while building higher layers.
- Reference material: Print or display circle templates for each layer size.
- Patience: Spheres take time. A 21-block sphere requires placing 2,000+ blocks!
Step-by-Step Sphere Building Guide
Choose Your Sphere Size
The first decision is the diameter of your sphere. For beginners, we recommend starting with a 15 or 21 block diameter sphere. Odd numbers are easier because they have a true center block, which helps with alignment.
Consider your intended use:
- Decorative globes: 9-15 blocks
- Building domes: 15-25 blocks (half sphere)
- Underwater bases: 21-35 blocks
- Giant planet builds: 51+ blocks
Calculate Layer Diameters
Each layer of your sphere needs a specific circle size. The pattern follows the mathematical formula of a sphere, but we've simplified it for you. Here's the layer pattern for common sphere sizes:
| Sphere Size | Layer Pattern (bottom to middle) |
|---|---|
| 15 blocks | 5, 9, 11, 13, 13, 15, 15, 15 (then mirror) |
| 21 blocks | 5, 11, 15, 17, 19, 19, 21, 21, 21, 21, 21 (then mirror) |
| 31 blocks | 7, 15, 21, 25, 27, 29, 29, 31, 31, 31... (then mirror) |
Use our circle generator to create templates for each unique size in your pattern. You'll build each circle, then move up one block and build the next size.
Mark the Center Point
Before placing any blocks, establish your center point. This is crucial for alignment. If using an odd-diameter sphere, place a marker block at the exact center position. All your circles will be centered on this point.
For larger builds, consider using a different colored block or a beacon to mark the center. You'll reference this point constantly during construction.
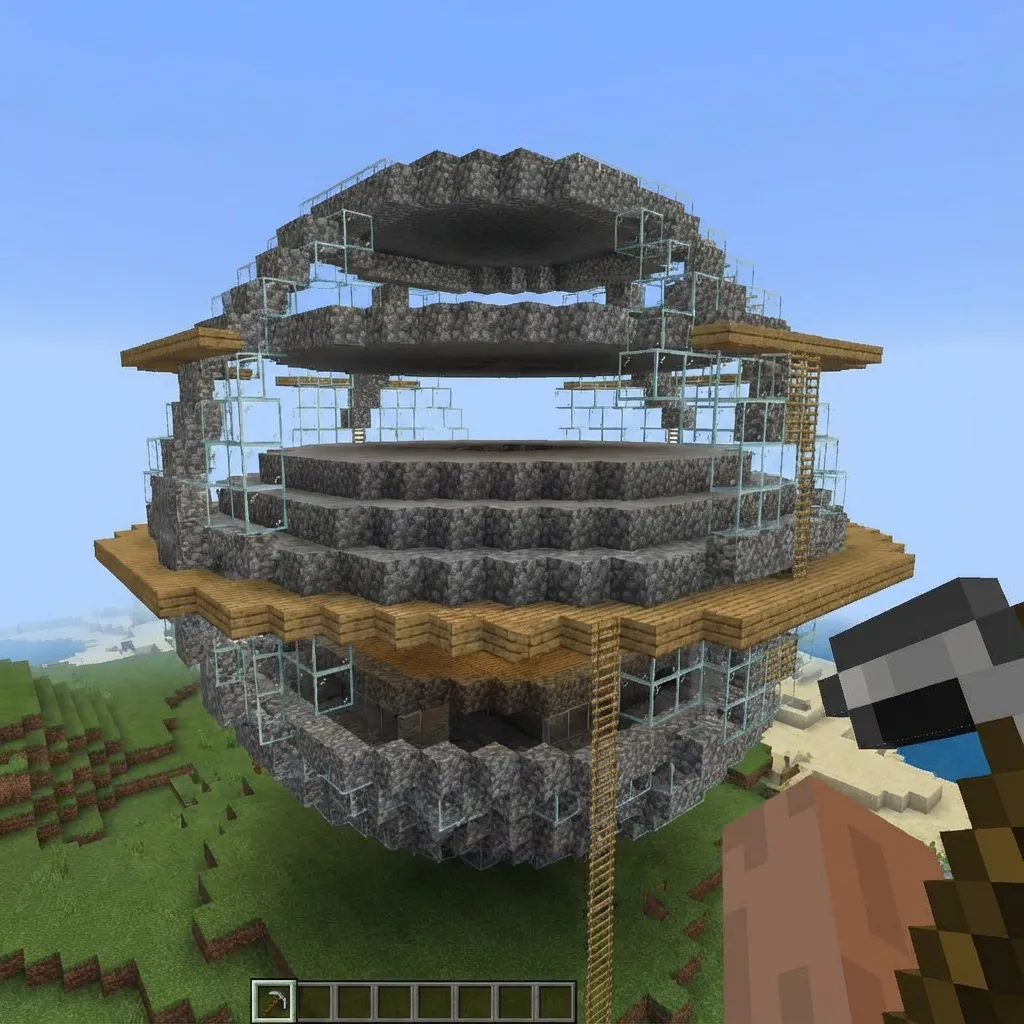
Build the Equator Layer First
Many builders start at the bottom, but we recommend starting with the equator layer (the largest circle in the middle). This serves as your primary reference point and helps ensure your sphere is centered correctly.
Use the circle generator to create a template for your full diameter. Place blocks following the pattern exactly. This is the widest point of your sphere, so take your time and get it perfect.
Build Upward from the Equator
Now move up one block and build the next smaller circle, centered on the same point. Continue this process, following your layer pattern. Each layer should be perfectly centered with the previous one.
Tips for building upward:
- Use scaffolding for easy access to higher layers
- Build in quadrants—complete one quarter, then mirror it
- Double-check alignment every few layers
- Step back periodically to assess the overall shape
Build Downward to Complete
After completing the top half, return to the equator and repeat the process building downward. Since spheres are symmetrical, the bottom half will use the exact same circle sizes in the same order.
The bottom layers can be trickier since you're working underneath an existing structure. Use temporary scaffolding or building techniques to access these areas.
Need Circle Templates?
Generate perfect circles for every layer of your sphere with our free tool.
Open Circle Generator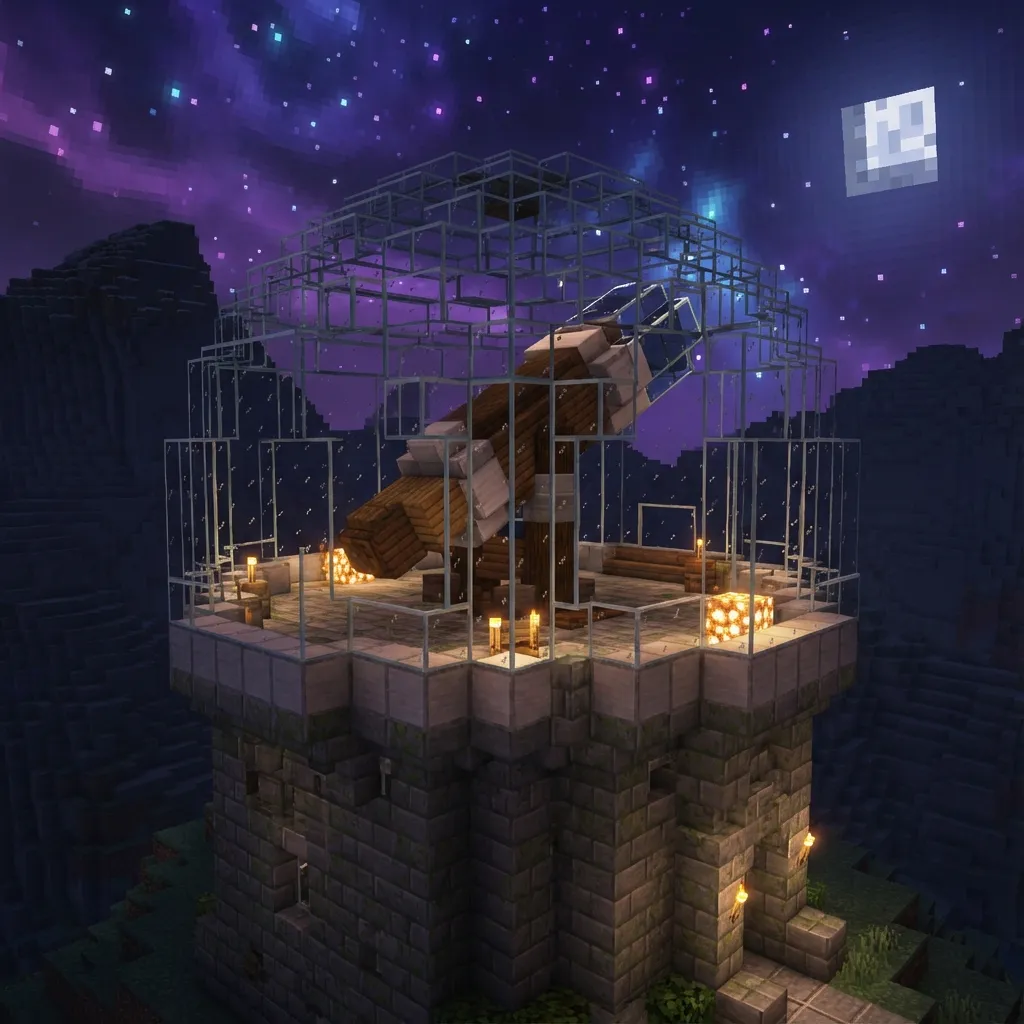
Pro Tips for Better Spheres
Choose the Right Materials
The block you choose dramatically affects how smooth your sphere appears. Smooth, single-color blocks work best:
- Best choices: Smooth quartz, concrete, prismarine, terracotta
- Good choices: Stone brick, polished stones, wool
- Avoid: Cobblestone, gravel, wood planks with strong grain patterns
Use the Filled Option Wisely
Our circle generator has a "Filled" option that creates solid circles instead of outlines. Use filled circles for solid spheres, but outline circles work better for hollow spheres where you only need the shell.
Consider Hollow vs. Solid
Hollow spheres use significantly fewer blocks and create interior space for bases or decorations. Solid spheres are simpler to build but use many more materials. For a 21-block hollow sphere, you'll place roughly 1,300 blocks. A solid sphere requires about 4,800 blocks!
Build in Creative First
If you're planning a sphere for survival mode, consider building a practice version in creative mode first. This helps you understand the pattern and catches any mistakes before you've invested valuable resources.
Common Sphere Building Mistakes
Even experienced builders make these errors. Learn from their mistakes:
- Misaligned centers: Always establish and mark your center point before starting.
- Skipping layer sizes: Don't try to simplify the pattern—each layer size is calculated for smoothness.
- Building asymmetrically: Build in quadrants and mirror for perfect symmetry.
- Wrong sphere size: Count blocks carefully and use odd numbers for easier construction.
- Rushing: Spheres take time. Quality builds require patience and careful placement.
Advanced Sphere Techniques
Elongated Spheres (Ellipsoids)
Want an egg shape instead of a perfect sphere? Use our oval generator to create ellipses instead of circles for each layer. You can stretch a sphere vertically by using more layers of similar sizes in the middle, or horizontally by using larger circles.
Half Spheres (Domes)
Domes are simply the top half of a sphere. Build from the equator upward only. This is perfect for building roofs, observatories, and underwater bases. Check our dome materials guide for the best block choices.
Glass Spheres
Glass spheres create stunning aquariums or snow globes. Use stained glass panels for colored effects. The transparent material lets you see the interior structure, so consider adding internal features like light sources, decorations, or even a smaller sphere inside!
Sphere Building Summary
Building a sphere in Minecraft is a rewarding challenge that produces impressive results. Remember these key points:
- A sphere is a stack of circles that change size from bottom to top
- Use our circle generator to create accurate templates for each layer
- Start with the equator layer and work outward for best alignment
- Choose smooth, single-color blocks for the best visual effect
- Take your time—rushing leads to mistakes
Now you have all the knowledge needed to build stunning spheres in your Minecraft world. Start with a smaller project to practice the technique, then scale up to more ambitious builds. Good luck, and happy building!