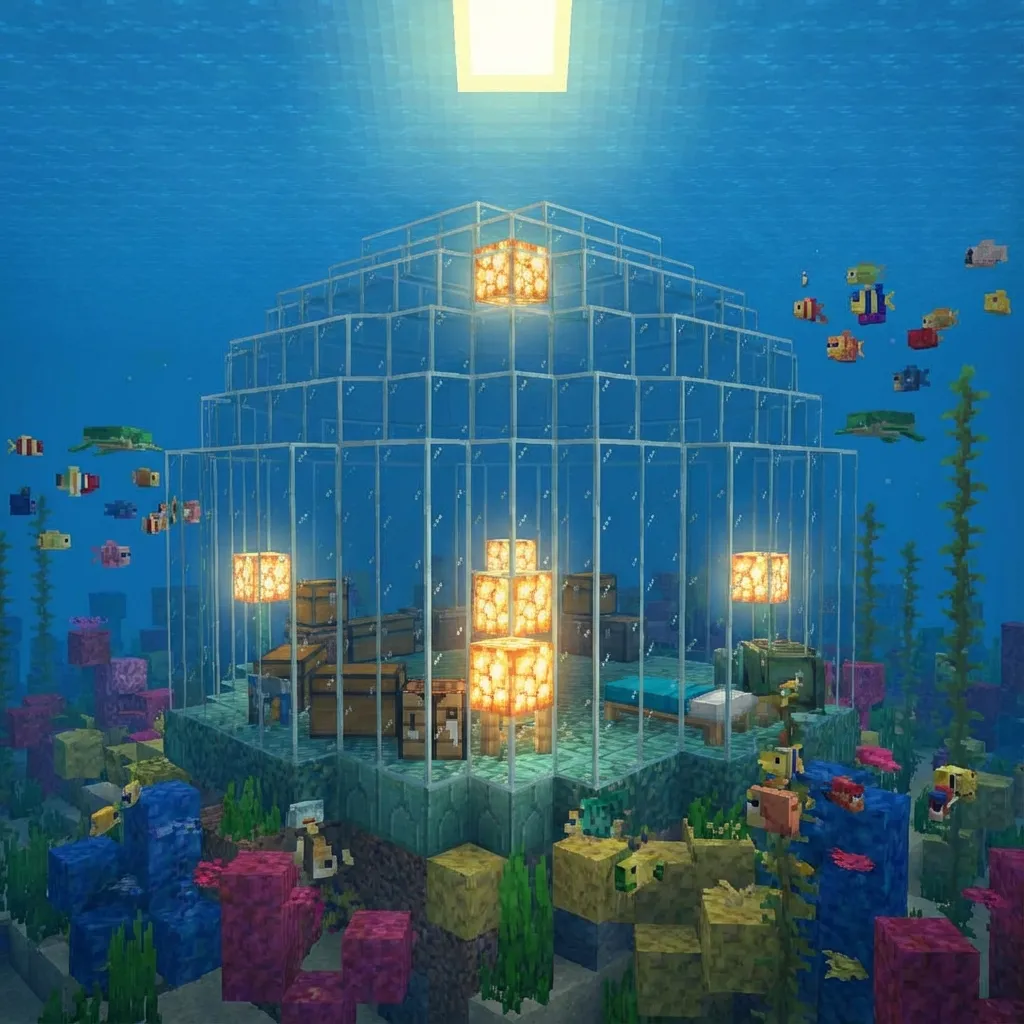
Few Minecraft builds are as impressive as an underwater glass dome. Imagine looking up through a transparent ceiling at schools of fish swimming by, or gazing out at the ocean floor from your fully-functional underwater base. These builds combine the technical challenge of working underwater with the architectural beauty of curved structures.
In this comprehensive guide, we'll walk you through everything you need to know about building, draining, and decorating underwater glass domes. Using our circle generator, you'll create perfect dome shapes that make your underwater base truly spectacular.
Why Build Underwater?
Underwater bases offer unique advantages that make the extra effort worthwhile:
- Natural protection: Hostile mobs can't spawn in water, and most can't swim effectively
- Stunning views: Ocean life swimming past your windows creates a living backdrop
- Hidden location: Perfect for survival servers where you want to stay hidden
- Unique aesthetic: The underwater setting provides ambient lighting and atmosphere
- Proximity to resources: Easy access to prismarine, sea lanterns, and ocean monuments
💡 Before You Start
Gather at least a full set of water breathing potions, a Respiration III helmet, and depth strider boots. Working underwater is slow without proper enchantments.
Choosing the Right Location
Not all ocean locations are suitable for underwater domes. Here's what to look for:
Depth Considerations
Your dome needs enough depth to be fully submerged but not so deep that you're constantly fighting darkness and pressure. Aim for water that's 20-40 blocks deep—deep enough for a substantial dome, shallow enough to receive some surface light.
Ocean Floor Terrain
A relatively flat ocean floor makes construction much easier. Avoid areas with extreme terrain variations, ravines, or underwater caves directly below your planned build site.
Nearby Features
Consider what's around your location:
- Ocean monuments: Great for nearby resources but Elder Guardians afflict Mining Fatigue
- Coral reefs: Beautiful views but fragile—don't build directly on them
- Kelp forests: Can obstruct views but also provide atmosphere
Step-by-Step Dome Construction
Plan Your Dome Size
Use our circle generator to plan your dome. For a livable underwater base, we recommend a minimum diameter of 21-31 blocks. Smaller domes look great but leave little interior space once you account for the curved walls.
Remember, you'll be building a half-sphere (dome), so generate circles for each layer from the largest at the base up to the smallest at the top.
Mark the Foundation
Clear the ocean floor where your dome will sit. Place a temporary marker block at the exact center—you'll reference this constantly during construction. Build the base circle first, laying it directly on the ocean floor.
Use a contrasting block for the base layer (like prismarine) so you can verify the shape before continuing upward with glass.
Build Upward Layer by Layer
Following your dome pattern, build each layer with progressively smaller circles. For glass domes, we strongly recommend using glass panes or solid glass blocks—NOT regular glass, which has visible seams.
| Material | Pros | Cons |
|---|---|---|
| Glass Blocks | Seamless, easy to place | Can't connect to walls cleanly |
| Glass Panes | Thinner walls, more interior space | Tricky underwater placement |
| Stained Glass | Tinted views, unique aesthetic | Reduces visibility |
Seal the Dome
Before draining, ensure your dome is completely sealed with no gaps. Even a single missing block will flood your entire interior. Walk around the outside inspecting every surface, paying special attention to where circles transition between sizes.
⚠️ Important
Double-check your seal before draining! A breach while draining wastes sponges and time. Consider building a small test dome first if this is your first underwater project.
Drain the Interior
This is the most labor-intensive part. You have several options:
- Sponges (fastest): Place wet sponges, dry them in a furnace, repeat
- Sand/gravel (cheapest): Fill with falling blocks, then remove
- Flying machine (advanced): Automated but complex to set up
For most builders, the sponge method is best. Start from the top and work downward, section by section. Have a furnace nearby to dry your sponges continuously.
Generate Your Dome Layers
Get perfect circle patterns for every layer of your underwater dome.
Open Circle Generator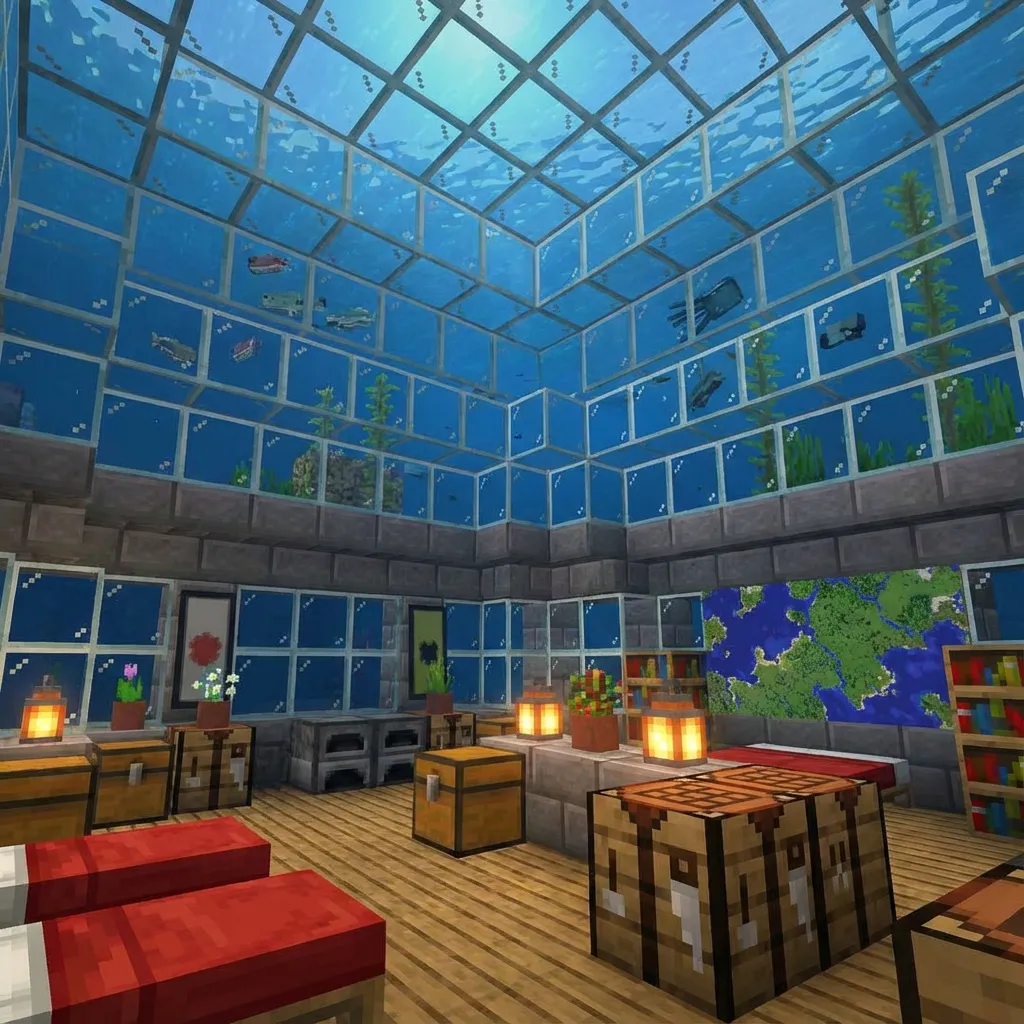
Interior Design Ideas
Lighting
Underwater domes need ample lighting since ocean depth reduces natural light. Sea lanterns are thematically perfect and provide strong illumination. Consider embedding them in the floor or creating artistic patterns across the dome interior.
Flooring
Don't leave raw ocean floor—it looks unfinished. Good flooring options include:
- Prismarine variants for an ocean theme
- Polished blackstone for contrast against the glass
- Carpets over any block to add color and warmth
Connecting Tunnels
Expand your underwater base by connecting multiple domes with glass tunnels. Use our generator to create circular cross-sections for the tunnels, maintaining the curved aesthetic throughout your underwater complex.
💡 Pro Tip
Build a moon pool—a hole in the floor with water below—for easy entry and exit without flooding your base. Frame it with soul sand for bubble columns that push you upward.
Advanced Techniques
Partial Glass Domes
Not every dome needs to be entirely glass. Consider building the lower half with solid blocks (prismarine, dark prismarine) and only the upper portion in glass. This gives structural variety and reduces the glass needed while still providing ocean views.
Multi-Level Domes
Stack multiple domes of decreasing size for a tiered underwater structure. Each level can serve a different purpose—storage below, living quarters in the middle, observation deck on top.
Exterior Decoration
Don't neglect the outside of your dome. Add:
- Coral blocks and fans around the base
- Sea pickle clusters for external lighting
- Kelp gardens framing the view
- Bubble columns for visual interest
Troubleshooting Common Issues
"Water keeps seeping in"
You have a leak. Systematically check every block of your dome, especially where layers transition. Waterlogged blocks like stairs or slabs might be the culprit if you used any for decoration.
"The dome looks bumpy"
This happens when circle sizes jump too quickly between layers. For smoother curves, use a larger dome diameter—curves are always smoother on bigger structures.
"I'm running out of sponges"
Ocean monuments are the renewable source of sponges via Elder Guardians. Alternatively, section your dome into smaller areas with temporary walls and drain each section separately.
Ready to build your underwater paradise? Head to our circle generator and start planning your dome layers today!
Start Your Underwater Project
Generate the perfect dome pattern for your ocean base.
Open Circle Generator